Setting Up an OS
Downloading the OS to a SD card
As mentioned above, the RPi needs an OS to be loaded onto a SD card.
There are several different OSs that you can get, they are constanly updated.
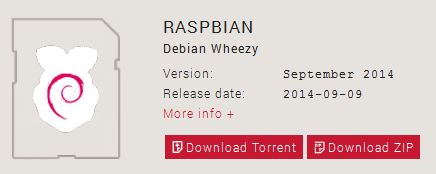
The one that is often suggested is The Raspian Debian Wheezy (amazing name!) 2014 release.
The easiest thing to do is to download it as a .zip file.
Once it is downloaded, you can't just copy it to the SD card.
You also can't just unzip the file and then copy it to the SD card.
Instead, you have to actually write an Image of the OS to the SD card.
In order to write an Image to the SD card you will need an image write, it is software that writes the image in a proper format.

So, pay close attention, here are the steps to getting the OS onto your SD card:
- Download the the Raspian Debian Wheezy (such a cool name!) September 2014 release. You can get it here at the RPi downloads page.
- Download an image writer, a good one is Win32 Disk Imager which availabe here at sourceforge.
- Install the Win32 Disk Imager (you might have to unzip it first) onto your computer
- Unzip the Raspian Debian Wheezy (love it) folder.
- Using Win32 Disk Imager, write the image to your SD card but...
BE CAREFUL!
If you write the Raspian Debian Wheezy OS to the wrong drive, it is possible that it would get written to the C: drive of your computer. This could be very, very, very bad.
You could possible overwrite the OS on your computer.
So make sure that you are very aware of what drive the SD card is when you attach it to your computer.
And when you are using Win32 Disk Imager, make sure you write to that drive.
